#📸 Swift Camera — Part 1
Create a custom camera view using AVFoundation
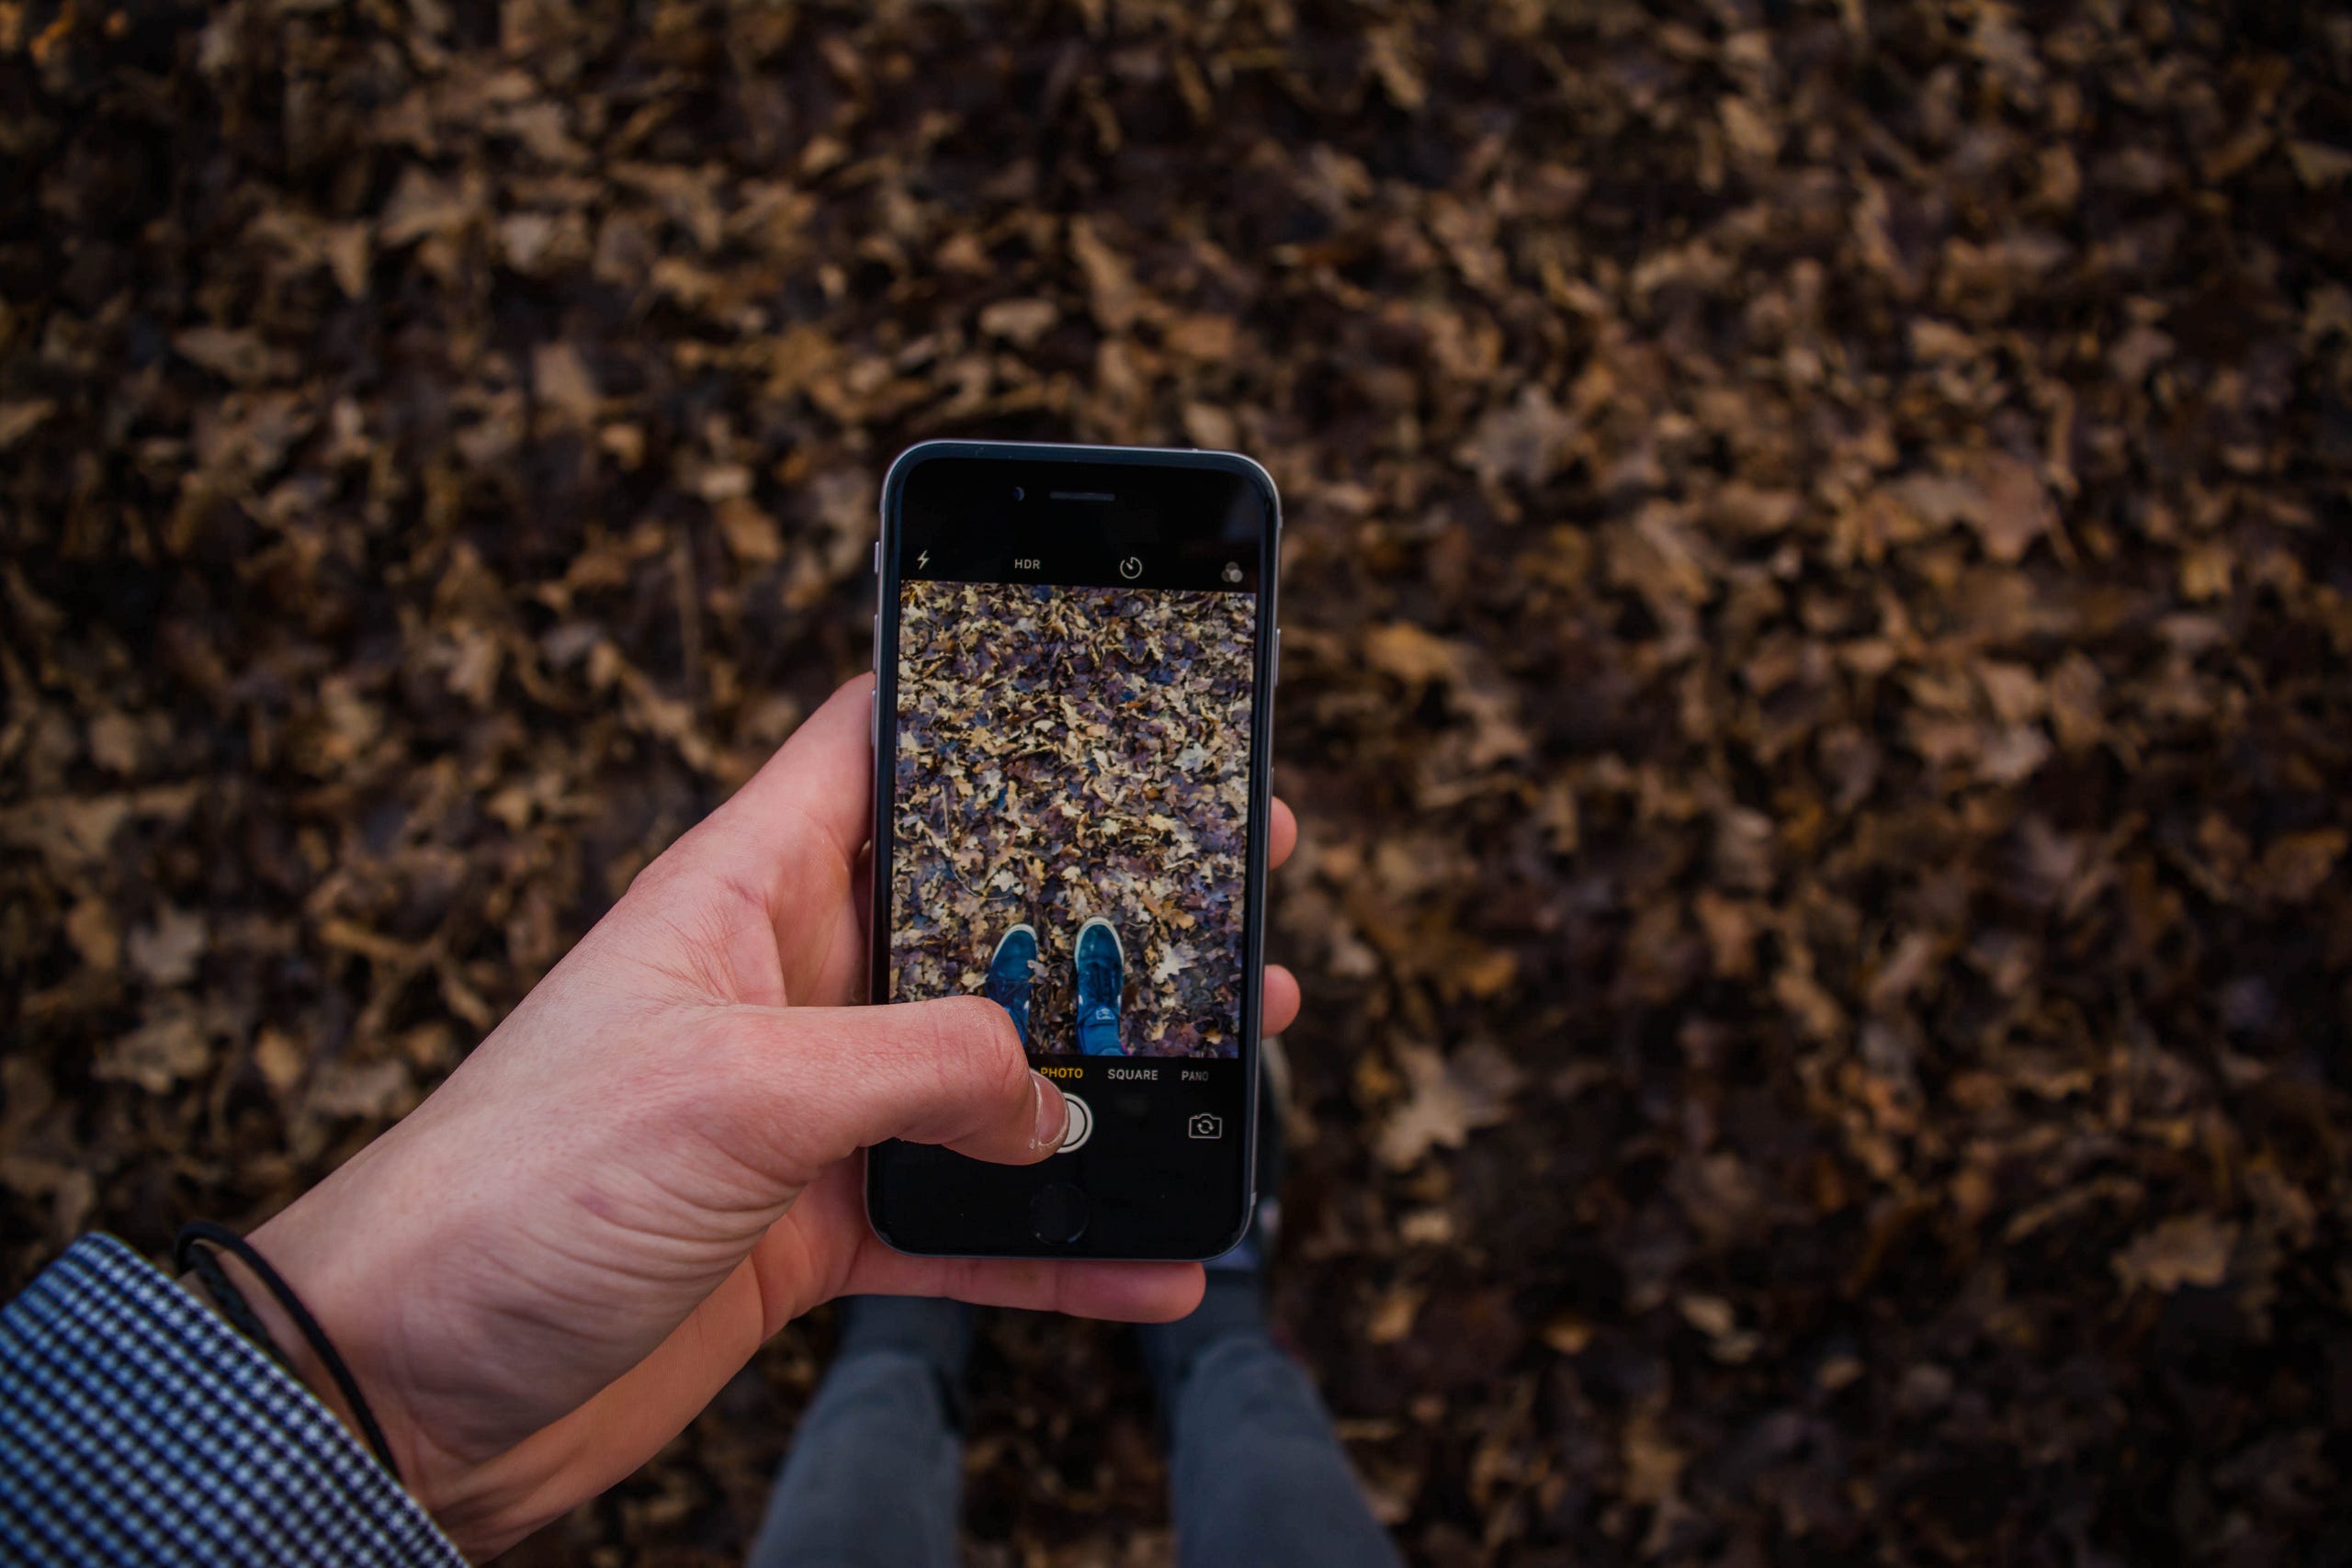 Photo credit: unsplash
iOS 11 brings lots of new cool features like Machine Learning and Augmented Reality. So you might want to test those features or create awesome apps. But if you notice that some of them need a custom camera and accessing camera frames. iOS have lots of API’s for us to access device camera, capture image and process it. AVFoundation is the framework you should be looking at. Since this framework is huge and there is lots of ways to achieve the desired features I decided to write set of blog posts about the following.
- Create custom camera view
- Take picture from custom camera
- Record Video using
- Detect Face and Scan QR code
(If you want some specific things please do ask me in the comments. I will try to write/learn about it)
To all those nerds who wants to skip the blog post and see the code in action. I got you covered. Here is the Github Repo. Keep an eye on this repo because I will be adding all features in the same app and if you want to improve the code quality PR/Issues are welcome.
For others,
Let’s create a custom camera
Step 1:
Create new project in xCode by selecting File → New → Project → Single View Application (under iOS tab)
Give it a nice name and select swift as Language. Click Next → Create and save the project file. if everything goes well, you could see a project like below
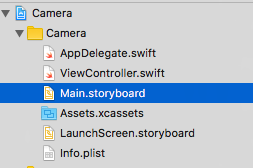
Project structure
Step 2:
Select Main.storyboard ,drag UIView to your view controller and set top , bottom , leading, trailing to 0. This view will serve as “view finder” or “preview view” for your camera.
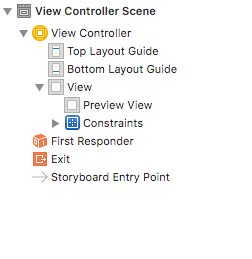
Main.storyboard ViewController structure
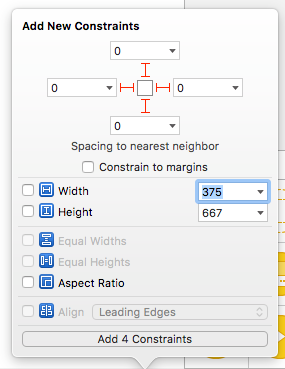
Preview View Constraints
Control + drag our preview view to ViewController.swift and create an IBOutlet named previewView
Step 3
At the top of your ViewController file, import AVFoundation framework.
import AVFoundationCreate the below instance variables so that we can access anywhere in the ViewController file.
var captureSession: AVCaptureSession?
var videoPreviewLayer: AVCaptureVideoPreviewLayer?
here captureSession helps us to transfer data between one or more device inputs like camera or microphone and view videoPreviewLayer helps to render the camera view finder in our ViewController
Step 4
You will need a capture device, device input and preview layer to setup and start the camera. To make it simpler we will try to do everything related to camera setup in viewDidLoad
Get an instance of the AVCaptureDevice class to initialise a device object and provide the video as the media type parameter. You can even select which capture device you can choose like a dual camera or standard camera but for this post, we will just get default device (rear camera).
let captureDevice = AVCaptureDevice.defaultDevice(withMediaType: AVMediaTypeVideo)Get an instance of the AVCaptureDeviceInput class using the previous device object. This will serve as a middle man to attach our input device to capture device. Here there is a chance that input device might not be available, so wrap it inside a do…catch to handle errors
do {
let input = try AVCaptureDeviceInput(device: captureDevice)
} catch {
print(error)
}
Initialise our captureSession object and add the input device to our session
captureSession = AVCaptureSession()
captureSession?.addInput(input)
Next configure our preview View so that we can see the live preview of camera.
- Create an
AVCaptureVideoPreviewLayerfrom our session - Configure the layer to resize while maintaining original aspect
- Set preview layer frame to our ViewController view bounds
- Add the preview layer as sublayer to our
previewView
videoPreviewLayer = AVCaptureVideoPreviewLayer(session: captureSession)
videoPreviewLayer?.videoGravity = AVLayerVideoGravityResizeAspectFill
videoPreviewLayer?.frame = view.layer.bounds
previewView.layer.addSublayer(videoPreviewLayer!)
Finally, start our captureSession to start video capture
captureSession?.startRunning()Step 5
Since the simulator does NOT have a camera to check our code. you might need a real device to run the code. So connect your phone and hit run, you should be see a live camera.
Meh! The app will crash because we forgot to add one last thing. That is “Privacy — Camera Usage Description” in our plist. Add this to Info.plist file and give some nice message because that is what user will see when app is requesting for camera permission.
Now if you hit run you should be seeing the magic!
There are some things which I haven’t included here like checking user permission, adding capture output. But if you got the time you can read about all of them in Apple Documentation here.
Photo Capture Programming Guide https://developer.apple.com/library/content/documentation/AudioVideo/Conceptual/PhotoCaptureGuide/")[](https://developer.apple.com/library/content/documentation/AudioVideo/Conceptual/PhotoCaptureGuide/)
On next part, I will write about having
AVCapturePhotoOutputand use its delegate method to take a picture and save it to iPhone Camera Roll. Follow me here or on twitter to get updates. If you like this post share and comments